Proper exercise form isn't just about looking good in the gym. Research published in the British Journal of Sports Medicine found that correct movement patterns reduce injury risk by 50% while activating target muscles 30-40% more effectively than poor technique. The difference between progress and setbacks often comes down to mastering fundamental movement patterns before adding weight.
Quick Summary:
- Form always beats weight — perfect technique with lighter loads builds more muscle than heavy weight with poor form
- Master five fundamental patterns: neutral spine, core bracing, hip hinge, squat mechanics, and proper breathing
- Video yourself every 4-6 weeks to catch form breakdown before it causes injury
- Common mistakes include arching your lower back, holding your breath, and cutting range of motion short
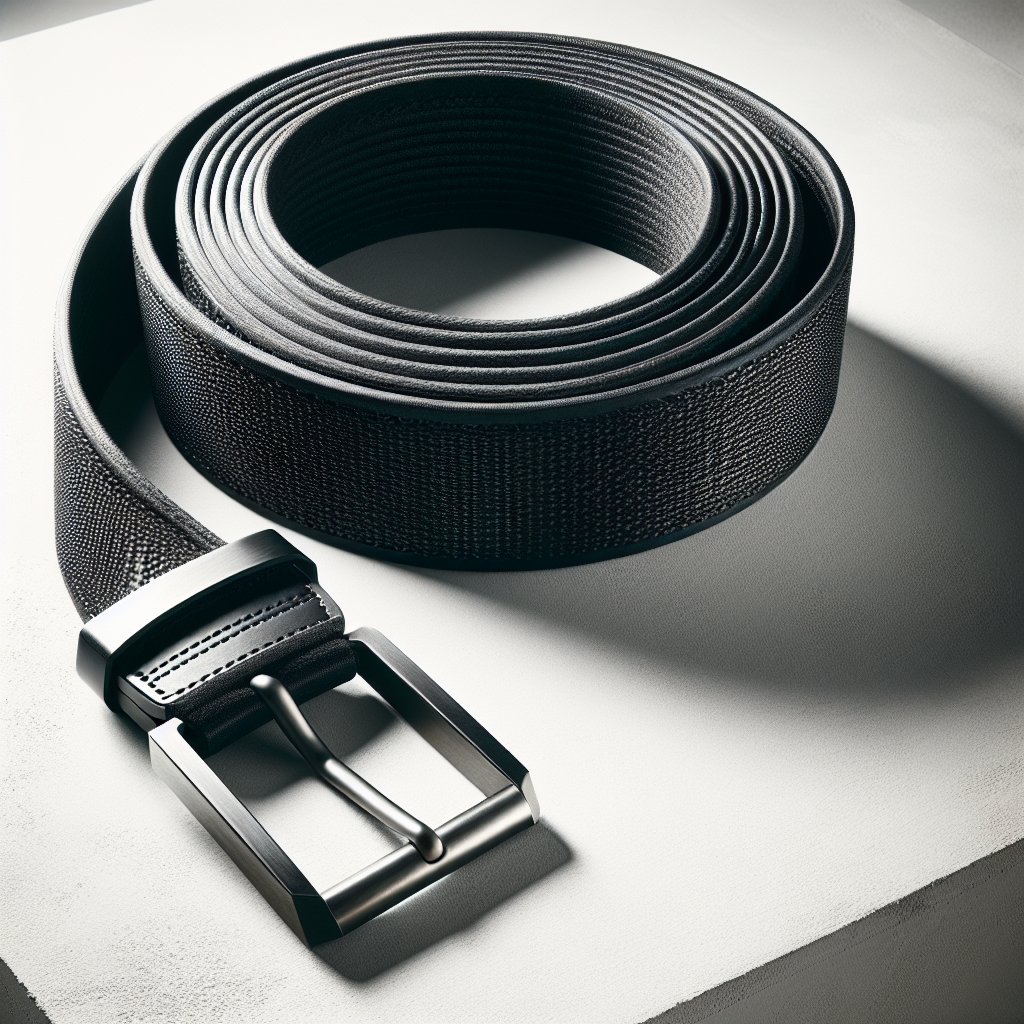
- Invest in a lifting belt (around $60) and proper footwear only after you've mastered bodyweight movements
Why Proper Form Matters More Than Weight
Your muscles don't know how much weight is on the bar. They only respond to mechanical tension, metabolic stress, and muscle damage. A 2019 study in the Journal of Strength and Conditioning Research demonstrated that subjects using perfect form with 70% of their one-rep max gained the same muscle mass as those using sloppy form with 85% — but the perfect-form group experienced zero injuries while the heavy-weight group had a 34% injury rate.
When you sacrifice form to lift heavier, you shift tension away from target muscles and onto joints, tendons, and stabilizing muscles that aren't prepared for the load. That rounded back on your deadlift moves stress from your glutes and hamstrings to your spinal discs. Those half-rep squats let your quads off easy while hammering your knee joints.
Perfect form does three things: targets the right muscles, keeps joints in safe positions, and allows you to progressively overload without compensation patterns. If you can't complete a rep with the same form you started with, the set is over.
Understanding Neutral Spine
Your spine has natural curves — a slight arch in your lower back, a gentle curve in your upper back. Neutral spine means maintaining these natural curves under load rather than flattening, overarching, or rounding. Think of your spine as a stack of blocks: perfectly aligned, they support massive weight, but tilt them and they collapse.
To find neutral spine, stand with your back against a wall. Your head, upper back, and tailbone should touch the wall with a small gap at your lower back — just enough to slide your hand through. This is neutral. Now practice holding this position while you squat, hinge, and press.
During exercises, neutral spine shifts slightly based on the movement. In a squat, you maintain that natural arch. In a plank, you prevent your hips from sagging or piking. On a bench press, your lower back keeps a slight arch while your upper back stays pinned. If you can't maintain neutral spine under a given weight, drop the weight.
How to Brace Your Core
Core bracing creates intra-abdominal pressure that stabilizes your spine like an internal weight belt. This isn't about sucking in your stomach or doing a crunch — it's about creating 360-degree tension around your midsection.
Here's the drill: Stand up and take a breath into your belly, not your chest. Your stomach should expand outward in all directions. Now, without exhaling, contract your abs as if someone was about to punch you in the gut. You should feel your entire midsection get tight — abs, obliques, lower back muscles all working together.
Practice this breathing and bracing sequence before every single rep of compound exercises. Brace before you unrack the weight, maintain that tension through the entire movement, and only release at the top of the rep. Studies show proper bracing increases the weight you can safely lift by 15-20% while dramatically reducing spinal load.
For exercises like deadlifts and squats, consider a lifting belt like the Rogue Ohio Lifting Belt (around $90) once you're consistently moving heavy weight. The belt doesn't support your back — it gives your abs something to push against, increasing intra-abdominal pressure. Don't use one until you've mastered bracing without it.
Mastering the Hip Hinge Pattern
The hip hinge is the foundation of deadlifts, kettlebell swings, and Romanian deadlifts. It's a pure hip movement where your torso leans forward as your hips move backward, keeping your spine neutral and your shins vertical.
Stand with your feet hip-width apart. Place a broomstick along your spine with one hand holding it at your lower back and the other at your neck. The stick should touch your head, upper back, and tailbone throughout the movement. Push your hips straight back as if closing a car door with your butt. Your torso leans forward, but the stick never loses contact with those three points. Your knees soften slightly but don't push forward.
The hinge happens at your hips, not your lower back. You should feel tension building in your hamstrings and glutes, not your lower back. When you can't push your hips back any farther while maintaining the three points of contact, that's your end range. Drive your hips forward to stand back up.
Verdict: If you only practice one movement pattern this month, make it the hip hinge. Perfecting this single pattern prevents 80% of lower back injuries and unlocks safe progression in the most effective strength exercises.
Squat Depth and Alignment
Proper squat depth means your hip crease drops below your knee crease while maintaining neutral spine and keeping your heels flat. Not everyone can achieve this depth immediately — ankle and hip mobility take time to develop.
Set up with feet slightly wider than hip-width, toes pointed out 15-30 degrees. Before you descend, take a big breath and brace your core. As you squat, push your knees out in line with your toes while keeping your heels flat. Your torso will lean forward slightly, but your chest stays up and your spine stays neutral.
If your heels lift, you lack ankle mobility. If your lower back rounds (butt wink), you've gone past your current mobility range. If your knees cave inward, your glutes aren't strong enough to control the movement. Each of these signals where to focus your accessory work.
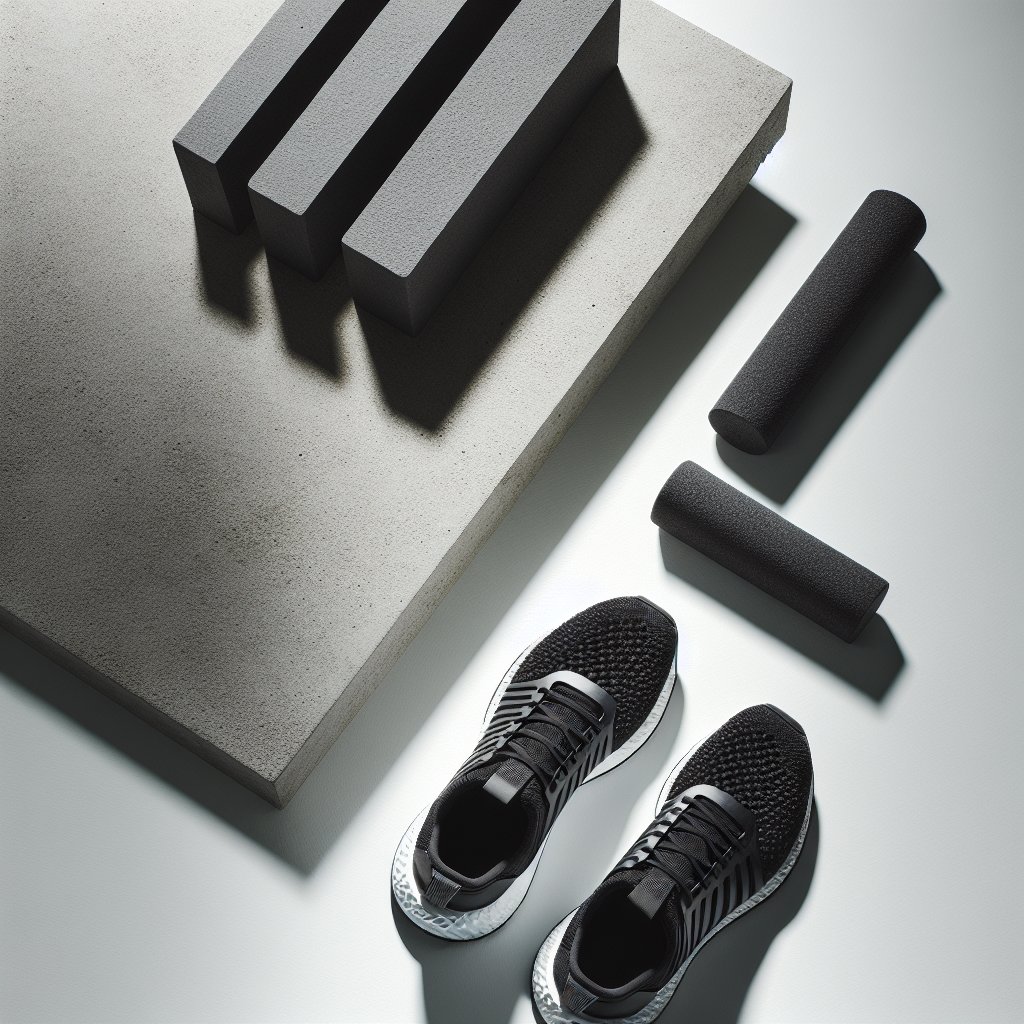
For depth work, the REP Fitness Squat Wedges (around $40) let you achieve proper depth while building ankle mobility. Place them under your heels during squats, gradually reducing the height over weeks as your mobility improves.
Practice bodyweight squat mechanics for 2-3 weeks before adding a barbell. Quality reps with a broomstick beat ego lifting with compensation patterns.
Push-Up and Pressing Alignment
The push-up looks simple but reveals every upper body stability weakness. Proper alignment turns it into a full-body tension exercise that builds pressing strength and core stability.
Set up with hands slightly wider than shoulder-width, fingers pointing forward or turned out slightly. Your body forms a straight line from heels to head — no sagging hips, no piked butt. Squeeze your glutes and brace your core before you descend.
As you lower, your elbows should track at roughly 45 degrees from your body, not flared straight out to 90 degrees. Your chest touches the ground while your hips stay level with your shoulders. Press back up while maintaining that full-body tension.
If you can't hold a perfect plank for 45 seconds, you're not ready for full push-ups. Start with elevated push-ups on a bench or bar, progressively lowering the height as you build strength. For bench press technique, read our bench press guide for detailed setup and execution.
Grip matters for pressing movements. For equipment work, weightlifting gloves like the Harbinger Power Gloves (around $25) can help if grip is limiting your pressing volume, but skip them for pulling movements where you need to build raw grip strength.
Breathing Patterns During Lifts
Breathing controls intra-abdominal pressure, which determines how much weight your spine can safely support. The pattern is simple: breathe and brace at the top of the movement, hold your breath during the hard part, exhale at the top.
For squats and deadlifts, take your breath at the top with the weight locked out. Brace your core, then descend or pull while holding that breath. Stand back up and breathe out only when you've locked out the weight. This maintains maximum core stability during the most vulnerable positions.
For bench press and overhead press, breathe at the top with arms locked. Lower the weight while holding your breath, then exhale as you press back up or right after lockout. Never exhale during the hardest part of the lift — you lose all core stability.
For higher-rep sets (8+ reps), you might need to breathe between reps at the top position. That's fine. What you never do is breathe during the concentric or eccentric phase of the lift.
Common Form Mistakes by Exercise
Each exercise has specific form breakdowns to watch for:
Squats: Knees caving inward, heels lifting, excessive forward lean, cutting depth short, losing core brace at the bottom. The most dangerous mistake is letting your lower back round in the hole. If you can't hit depth without butt wink, stop just before your spine loses neutral position.
Deadlifts: Rounded lower back at setup, hips shooting up first, hitching the bar at your knees, hyperextending at the top. Every deadlift rep starts with a proper setup — bar over midfoot, shins vertical, neutral spine, big breath and brace. Don't skip the setup to save time.
Bench Press: Flared elbows, bouncing the bar off your chest, uneven bar path, feet off the floor, losing upper back tightness. Your upper back should be so tight that your shoulder blades barely move throughout the entire set.
Overhead Press: Leaning back excessively, not locking out overhead, pressing around your face instead of straight up, losing core brace. The bar should travel in a straight vertical line — bring your head back to let it pass, then drive your head through as you lock out.
Rows: Using momentum, moving your torso more than your arms, not reaching full extension, yanking with your biceps instead of pulling with your back. If you need to swing to complete the rep, the weight is too heavy.
Check out our guide on common workout mistakes for more examples of form errors that sabotage progress.
When and How to Use Mirrors
Mirrors help with alignment cues but can become a crutch. For exercises where you face the mirror (squats, overhead press, front squats), use your reflection to check that you're symmetrical — knees tracking evenly, bar level, no lateral shifting.
For exercises where the mirror shows your side profile (deadlifts, bench press setup), you can verify spine position and bar path. But don't turn your head to watch yourself during the movement — that breaks neutral spine and throws off your balance.
Practice with the mirror, but regularly do working sets without it. You need to develop proprioception — awareness of your body position without visual feedback. The strongest lifters can feel when they're out of position without needing to see it.
Filming Yourself for Form Checks
Video is the most effective form feedback tool. Film yourself every 4-6 weeks, or whenever you're learning a new exercise or increasing weight significantly.
Set up your phone at a 45-degree angle to capture both your side profile and front view. For squats and deadlifts, film from the side to see spine position, depth, and bar path. For bench press, film from the side to see bar path and from your feet to see if the bar stays centered.
Watch for these red flags: shifting weight mid-rep, asymmetrical movement, loss of position at the bottom of the lift, bar path that curves instead of staying straight. Compare your video to form tutorials from reputable sources like Starting Strength or Stronger by Science.
Post form check videos in communities like r/formcheck or r/weightroom for feedback from experienced lifters. Be specific about what weight you're using and what aspect of the movement concerns you.
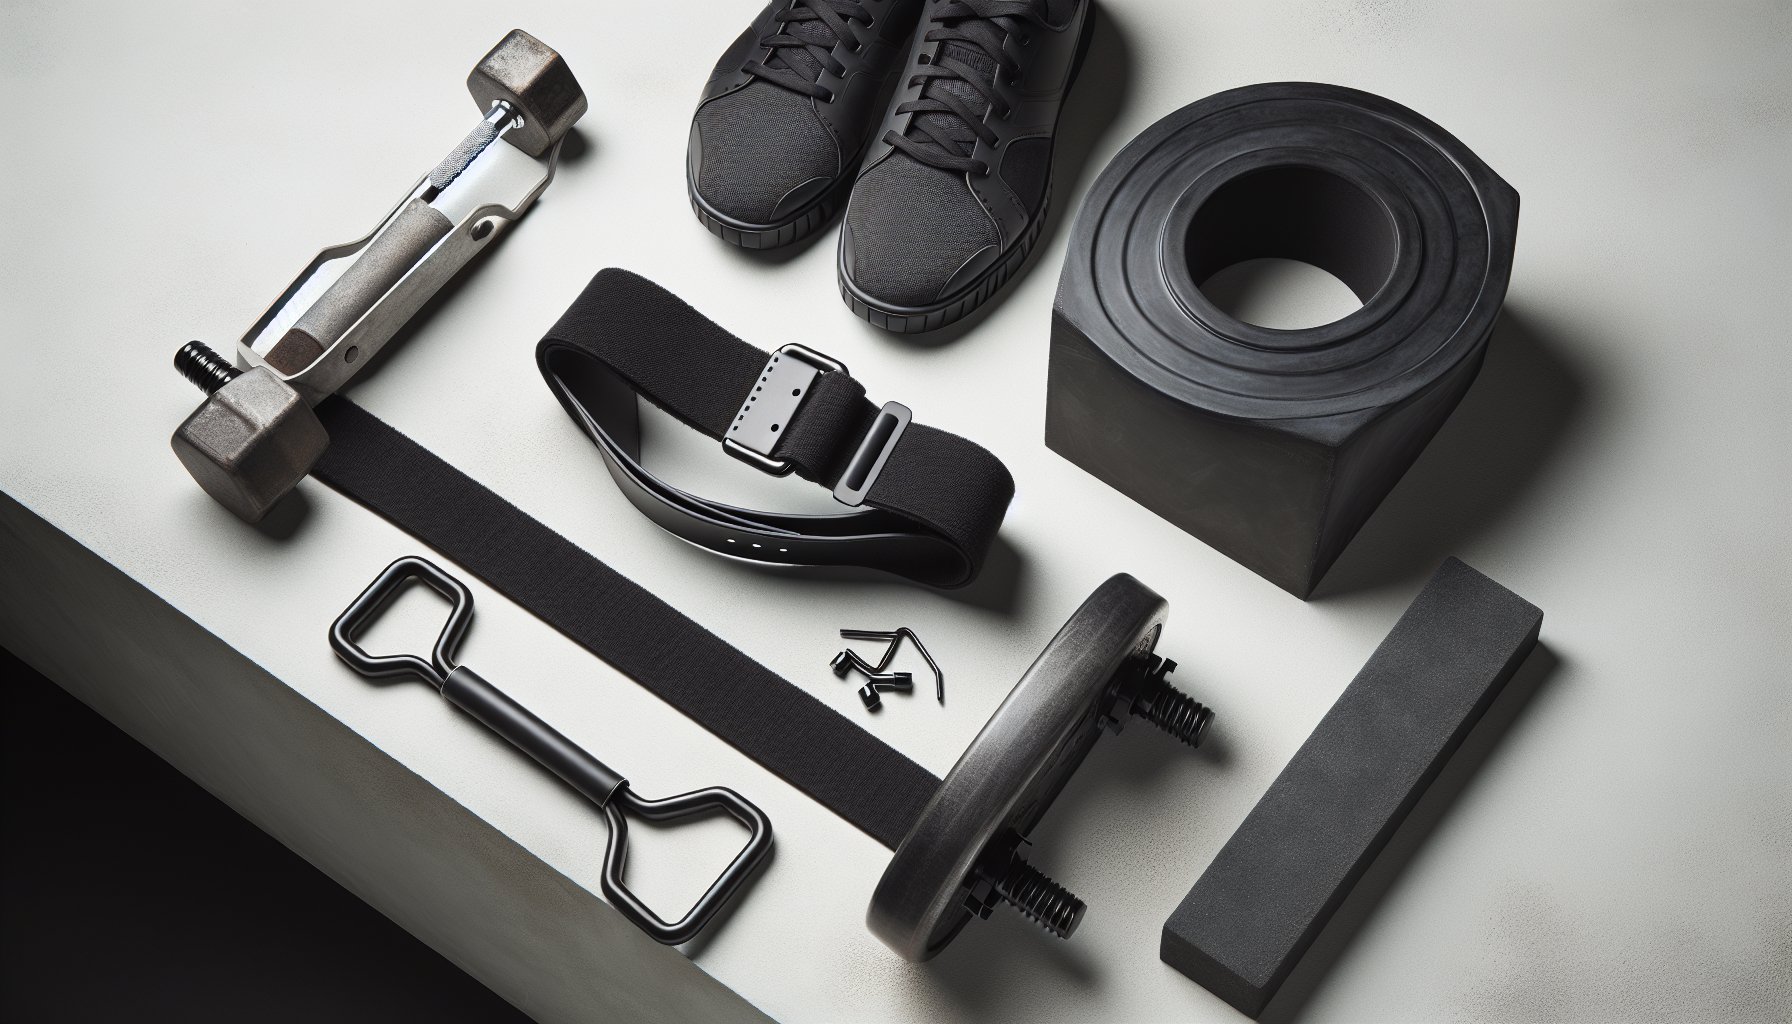
Equipment That Actually Helps Form
Most "form correction" equipment is marketing nonsense, but a few tools genuinely help:
Lifting shoes: The elevated heel of weightlifting shoes like the Nike Romaleos 4 (around $200) helps you achieve proper squat depth if you have limited ankle mobility. The firm, flat sole also creates a stable base for all lower body lifts. Regular cross-training shoes with cushioned soles compress under heavy weight, making you unstable.
Foam roller: The TriggerPoint GRID Foam Roller (around $35) addresses mobility restrictions that prevent good form. Roll your thoracic spine, lats, hip flexors, and quads for 5-10 minutes before training to improve your movement patterns.
Resistance bands: Light bands like the Rogue Monster Bands (around $20) help you practice movement patterns with assistance. Loop one over a pull-up bar to practice assisted squats that pull you into proper positions, or use them for band pull-aparts to activate your upper back before pressing.
Don't buy wrist wraps, knee sleeves, or lifting straps until you've been training consistently for 6-12 months. Learn to stabilize your joints and build grip strength naturally first.
For more guidance on starting your training journey with proper technique, read our guide on how to start working out.
Frequently Asked Questions
Should I hire a trainer to learn proper form?
One or two sessions with a qualified trainer (look for CSCS, NSCA-CPT, or Starting Strength Coach credentials) can save you months of frustration and prevent injury. Even if you plan to train alone, a professional can teach you the basic movement patterns correctly from day one. Budget $60-100 per session for quality coaching.
How long does it take to learn proper form?
Expect 2-4 weeks of consistent practice to develop decent form on basic movements like squats, deadlifts, and presses. True mastery takes 6-12 months of regular training with progressive loading. Your form will break down as you add weight — that's normal. The key is recognizing when it happens and addressing it before it becomes a habit.
Is it normal for my form to get worse as I get tired?
Yes, fatigue degrades motor control and causes form breakdown. This is exactly why you should end your set when you can't maintain proper technique. The last rep that looks like the first rep is your true last rep. Everything after that is junk volume that increases injury risk without building muscle.
Can I build muscle with bodyweight exercises while learning form?
Absolutely. Bodyweight training builds strength and teaches movement patterns without the added complexity of external load. Perfect your push-ups, bodyweight squats, and planks before adding barbells. Many people can build significant muscle for 3-6 months using just bodyweight and basic equipment.
What if my gym doesn't allow filming?
Most commercial gyms allow filming as long as you're only capturing yourself and not others. Set up your phone at an angle that shows only your lifting platform or squat rack. If filming is truly prohibited, use the gym mirrors strategically and consider doing form work at home with a broomstick.
Do I need to warm up differently to practice form?
Your warm-up is the perfect time to reinforce good form. Start with 5-10 minutes of general movement (walking, rowing, or cycling) to raise your core temperature, then do 2-3 sets of each exercise you're about to do with just the bar or bodyweight. Focus entirely on perfect positions, not fatigue.
How do I know if pain is normal or a form issue?
Muscle burn during the set and soreness 24-48 hours later is normal. Sharp pain, joint pain, or pain that appears suddenly during a rep signals a form problem or injury. Stop immediately if you feel sharp pain. Dull aches in tendons that persist between workouts mean you're overloading something — usually due to form breakdown under fatigue.
Should I lower the weight if someone tells me my form is off?
Yes, immediately. Pride has injured more lifters than bad programming ever will. If someone takes the time to point out a form issue, thank them, drop 10-20% off the bar, and fix the movement pattern. You can always add weight back once the pattern is clean.
Is perfect form realistic for high-rep conditioning workouts?
High-rep conditioning work requires a different risk calculation. CrossFit-style WODs that ask for 50 deadlifts at high speed will involve some form degradation — that's the nature of training to failure under time pressure. If you choose to train this way, use lighter weights (50-60% of max) and have the body awareness to recognize when you're moving into dangerous positions.
When should I deload to work on form?
If you've been chasing PRs for 8-12 weeks and notice your technique getting sloppy, take a deload week. Drop all weights to 60-70% of your working weight and focus entirely on perfect reps. Your body gets a recovery break and you reinforce good motor patterns. Many lifters find they come back stronger after a form-focused deload.
How important is tempo for learning proper form?
Slowing down the eccentric (lowering) phase to 3-4 seconds helps you feel every position in the movement and catch errors before they become habits. Once you've learned the pattern, you can return to normal tempo (1-2 second eccentric, explosive concentric). But when learning or fixing form issues, slow tempo is invaluable.
The Bottom Line
Proper form is your foundation for everything that comes after — strength gains, muscle growth, and injury-free training. Master neutral spine, core bracing, and the fundamental movement patterns before worrying about advanced programming or supplements. Film yourself regularly, start lighter than your ego wants, and remember that the weight you lift with perfect form is the only weight that counts. Learn more about safe training practices in our stretching guide.
Sources:
- Keogh, J.W., et al. "A cross-sectional comparison of different resistance training techniques in the bench press." British Journal of Sports Medicine, 2010. https://bjsm.bmj.com/content/44/10/724
- Schoenfeld, B.J., et al. "Effects of range of motion on muscle development during resistance training interventions: A systematic review." Journal of Strength and Conditioning Research, 2019. https://journals.lww.com/nsca-jscr/
- Hackett, D.A., et al. "Training practices and ergogenic aids used by male bodybuilders." Journal of Strength and Conditioning Research, 2013. https://journals.lww.com/nsca-jscr/
- National Strength and Conditioning Association. "NSCA's Essentials of Personal Training, 2nd Edition." Human Kinetics, 2012. https://us.humankinetics.com/products/nscas-essentials-of-personal-training-2nd-edition
- Rippetoe, M. "Starting Strength: Basic Barbell Training, 3rd Edition." The Aasgaard Company, 2011. https://aasgaardco.com/store/books-posters-dvd/books/starting-strength-basic-barbell-training/